
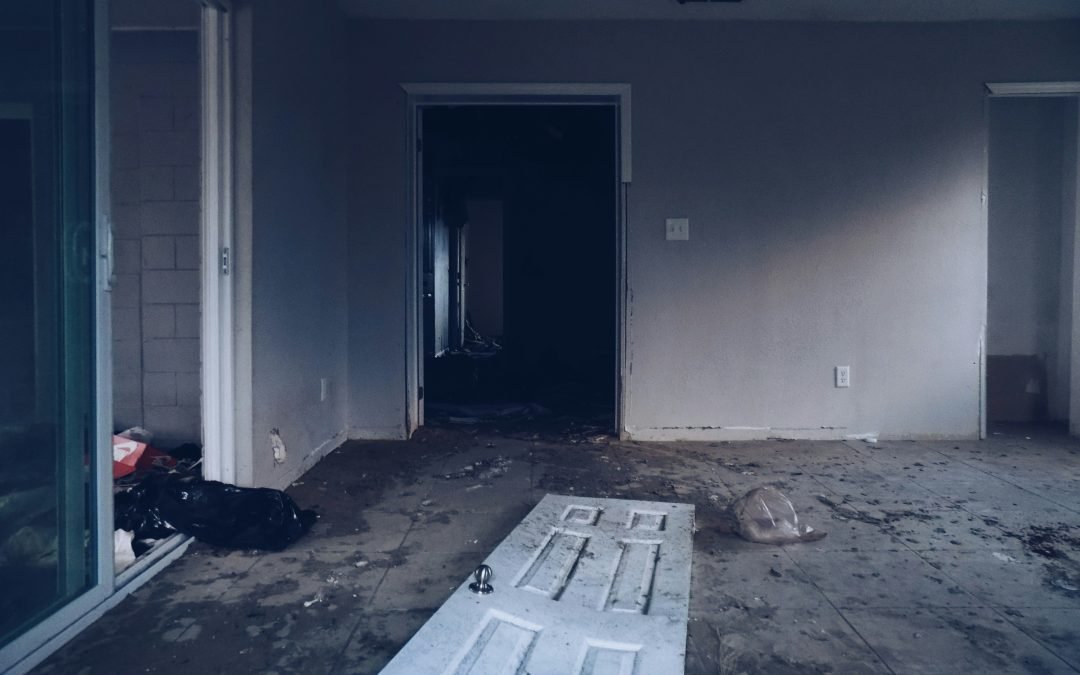
If you’ve ever looked at your basement and imagined turning it into something more useful—a guest suite, rental unit, or family apartment—you’re not alone. Converting a basement into an apartment is one of the most popular home renovation projects today. It adds living space, increases property value, and can even generate rental income. But to do it right, you’ll need a mix of planning, creativity, and compliance with local building regulations. Here’s a complete guide to renovating a basement into an apartment that’s comfortable, safe, and functional.
Why Convert Your Basement into an Apartment?
A finished basement apartment offers several key benefits. It can serve as an in-law suite, private guest space, or a fully independent rental unit. For homeowners, it provides:
- Extra income potential: Renting your basement apartment can help offset mortgage costs.
- Increased home value: A properly finished, legal apartment can boost resale value significantly.
- Multigenerational living: Perfect for aging parents or adult children needing independence.
- Efficient space use: Instead of letting your basement collect dust, turn it into something practical.
The investment pays off in the long run, but before you begin, it’s essential to plan strategically.
Step 1: Check Local Building Codes and Permits
Before hammering a single nail, contact your local building department to learn what’s required. Many regions have specific rules for secondary suites or basement apartments, covering:
- Minimum ceiling height (often 7 feet or more)
- Egress windows for emergency exits
- Separate entrance requirements
- Electrical and plumbing safety standards
- Fire-rated walls and ceilings
- Proper ventilation and insulation
You’ll likely need building permits, and if you plan to rent the space, it may need to be registered as a legal apartment. Following these rules isn’t just about compliance—it ensures safety for anyone who lives there.
Step 2: Assess the Basement’s Condition
Not all basements are ready for transformation. Start by checking for issues that could complicate the project:
- Moisture or leaks: Look for damp walls or musty smells. Waterproofing might be necessary before renovation.
- Cracks or foundation damage: Structural issues need to be fixed early to prevent bigger problems.
- Low ceilings: If your basement feels cramped, you may need to lower the floor or raise the ceiling to meet code.
- Electrical and plumbing access: Make sure there’s room for upgrades without tearing out too much.
Addressing these challenges first prevents costly surprises later.
Step 3: Plan the Layout
Once the space is dry and sound, it’s time to design your new apartment. Focus on comfort, efficiency, and safety. Common features include:
- Bedroom: Make sure it has an egress window for safety.
- Bathroom: A three-piece bath (toilet, sink, shower) is often ideal.
- Kitchenette or full kitchen: Include essentials like a fridge, sink, and cooktop.
- Living area: Keep it open and bright with good lighting and neutral tones.
- Private entrance: Adds independence for guests or tenants.
Use an open-concept design if the space is small—it creates the illusion of more room and allows natural light to flow freely.
Step 4: Address Lighting and Ventilation
Basements are notorious for being dark and stuffy, but thoughtful design can fix that. Natural light is key, so if possible, install larger windows or window wells. For areas without much daylight, layer different types of lighting:
- Ceiling lights or recessed LEDs for general illumination
- Under-cabinet lights for kitchens
- Floor and table lamps to create warmth
For ventilation, ensure the HVAC system extends to the basement or install a dedicated unit. Proper airflow prevents mold and keeps the apartment comfortable year-round.
Step 5: Install Proper Insulation and Soundproofing
A cozy basement apartment starts with good insulation. It keeps temperatures stable and energy bills low. Use rigid foam insulation on exterior walls and soundproof the ceiling using acoustic panels or insulation batts.
If you’re creating a rental unit, soundproofing becomes essential—it gives both you and your tenants privacy and peace.
Step 6: Choose Durable and Moisture-Resistant Materials
Because basements are naturally prone to humidity, every material should withstand moisture.
- Flooring: Opt for vinyl planks, ceramic tile, or sealed concrete instead of carpet.
- Walls: Use moisture-resistant drywall or cement board.
- Ceiling: Drop ceilings can hide utilities while allowing easy access for maintenance.
Stick to light, neutral colors to make the space feel larger and brighter.
Step 7: Plan Plumbing and Electrical Layouts
Plumbing and wiring upgrades are some of the most critical (and costly) parts of basement renovation. Work with licensed professionals to ensure everything meets code.
- Add a subpanel for electrical circuits if needed.
- Use GFCI outlets in bathrooms and kitchens.
- Ensure all fixtures are energy-efficient.
- If adding a bathroom, locate it near existing plumbing lines to reduce costs.
A well-thought-out plan now will save money and frustration later.
Step 8: Create a Separate Entrance (If Needed)
If the basement apartment will be rented or used as a private suite, you’ll likely need a separate exterior entrance. Options include:
- Converting an existing window into a walkout door
- Installing stairs leading up to ground level
- Adding a side or rear entry where space allows
Make sure it’s safe, well-lit, and weatherproofed. A dedicated entrance enhances privacy and increases property value.
Step 9: Add Finishing Touches
Once the structural and mechanical work is done, it’s time for the fun part—decorating. Choose furniture that maximizes space, like foldable tables or storage ottomans. Add mirrors to reflect light and give the illusion of openness.
Soft furnishings, indoor plants, and neutral paint colors will make the apartment feel warm and inviting. If renting, keep the design simple and functional to appeal to a wide range of tenants.
Step 10: Consider Fire Safety and Legal Requirements
Before moving anyone in, ensure the space meets fire safety standards. Install smoke and carbon monoxide detectors, fire-rated doors, and accessible exits. If it’s a rental, get the apartment inspected and certified as a legal secondary suite to avoid fines or insurance issues.
Estimated Costs and ROI
Renovating a basement into an apartment typically costs between $25,000 and $75,000, depending on size, materials, and labor. While it’s a significant investment, the returns can be substantial. A legal basement unit can add 20–30% to your home’s value or bring in steady monthly rental income.
Final Thoughts
Transforming your basement into an apartment is one of the smartest ways to expand your living space and boost your property’s value. From waterproofing and insulation to lighting and layout, each step contributes to creating a safe, stylish, and functional home.
If done right, a basement apartment isn’t just extra square footage—it’s a long-term investment in comfort, flexibility, and financial security.