
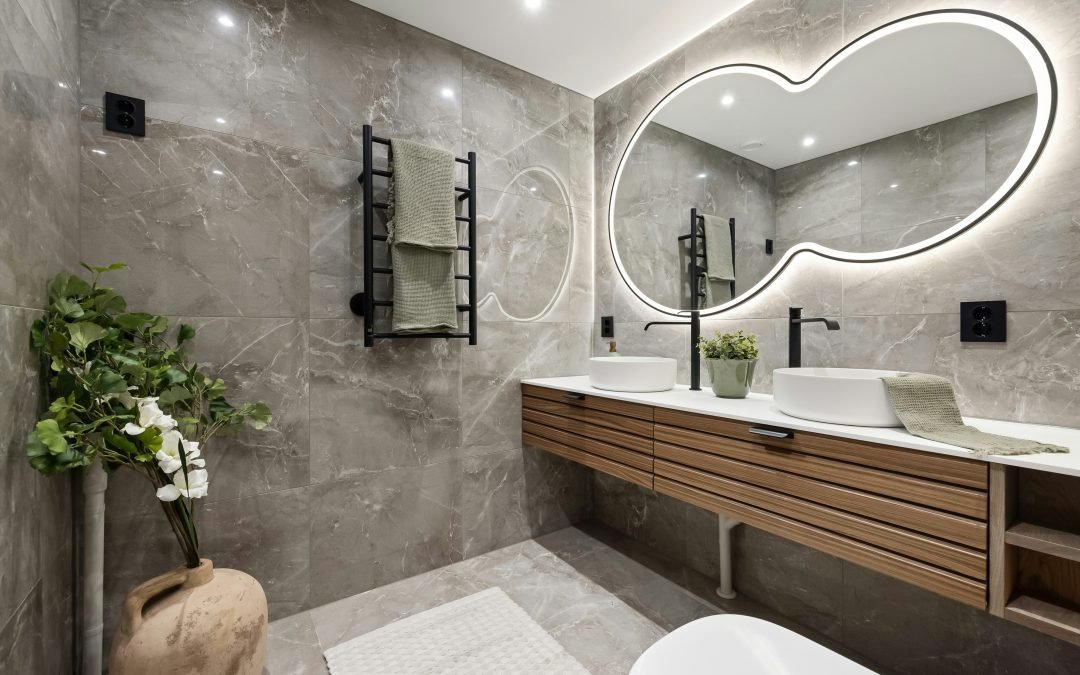
Renovating a bathroom can be one of the most rewarding home improvement projects, but it can also get messy and overwhelming if you don’t plan it right. Whether you’re updating an outdated space or doing a complete overhaul, knowing in what order do you renovate a bathroom is the key to saving time, money, and stress.
A well-planned renovation follows a logical sequence — starting with demolition and ending with the finishing touches. This guide breaks down every step so you know exactly what to do and when to do it, helping your bathroom transformation go smoothly from start to finish.
Step 1: Plan and Design Your Bathroom
Before picking up a hammer, spend time planning. Think about your goals: do you want a total remodel or a simple refresh?
Start by considering:
- Layout: Do you need to move plumbing or electrical lines, or will you keep everything in the same place?
- Budget: Set a realistic budget that includes materials, labor, and a 10–15% cushion for unexpected costs.
- Style: Choose your design theme — modern, rustic, spa-inspired, or minimalist.
- Materials: Research tile types, fixtures, and lighting options that suit your needs and budget.
It’s also a good idea to measure everything carefully. A clear plan prevents delays and ensures all materials fit correctly once the renovation begins.
Step 2: Demolition — Out With the Old
Once you have a plan, it’s time to clear the space. This is when you remove old fixtures, flooring, tiles, or drywall.
You’ll need:
- Safety gloves and goggles
- Crowbar and hammer
- Utility knife
- Dust mask
Start by turning off the water supply and electricity to the bathroom. Then carefully remove items like the vanity, toilet, mirror, and any old tile or flooring.
Tip: Take your time with this step. Avoid damaging plumbing pipes or electrical wires hidden behind walls or under floors. Proper demolition makes the installation process much smoother.
Step 3: Plumbing and Electrical Work
Once the old materials are gone, it’s time to handle the “behind-the-scenes” work. This includes updating plumbing, wiring, and ventilation.
- Plumbing: If you’re moving a toilet, shower, or sink, a plumber will need to reroute pipes. This is also the time to replace old, corroded pipes or upgrade to modern fittings.
- Electrical: Add outlets, change lighting layouts, or install heated flooring. Make sure everything meets local electrical codes.
- Ventilation: A good exhaust fan prevents mold and keeps humidity levels low.
Doing this work early prevents the need to reopen walls or floors later.
Step 4: Inspect and Prepare the Subfloor and Walls
After plumbing and wiring are complete, inspect the subfloor and walls for damage. If there’s mold, rot, or soft spots, repair or replace those areas before proceeding.
Next, install cement boards or moisture-resistant drywall (green board) in areas that will be tiled, such as around the shower or bathtub. These materials provide a strong, waterproof base that protects your bathroom from moisture damage.
Pro tip: Apply a waterproof membrane or sealer before tiling to make sure your bathroom stays dry and mold-free for years.
Step 5: Tiling and Flooring
This is where your bathroom starts taking shape. Begin with the walls before moving to the floor.
- Tile the walls first if you’re using ceramic or porcelain tiles. This prevents debris from damaging freshly installed floor tiles.
- Lay the floor tiles afterward, ensuring even spacing and alignment.
- Apply grout and sealant once the tiles have set to lock out moisture and dirt.
If you’re not using tiles, now’s the time to install other flooring options such as vinyl planks, waterproof laminate, or stone. Always ensure the floor is level and dry before installing new materials.
Tip: Choose slip-resistant flooring to make your bathroom safer, especially in wet areas.
Step 6: Install the Shower, Tub, and Toilet
Now that your base is ready, start installing the main fixtures.
- Shower or tub: Set up the base or tub, connect the plumbing, and install showerheads and faucets. Seal all joints with waterproof caulk.
- Toilet: Position the new toilet on its flange, tighten bolts evenly, and connect the water line.
- Sink and vanity: Install the vanity and connect the drain and faucet.
It’s best to have a plumber handle these installations to avoid leaks or improper fittings that could cause issues later.
Pro tip: Install a shut-off valve for each fixture. It makes future maintenance much easier.
Step 7: Paint and Finish the Walls
Once major fixtures are in place, it’s time to paint. Use moisture-resistant or mold-resistant paint designed for bathrooms. Satin or semi-gloss finishes work best since they’re easy to clean.
Paint before installing mirrors, towel racks, or accessories to avoid splatters. Make sure the area is well-ventilated while painting and let it dry fully before moving to the next step.
Tip: Choose light or neutral tones if you want your bathroom to look bigger and brighter.
Step 8: Install Cabinets, Lighting, and Accessories
Now comes the fun part — adding style and personality.
- Lighting: Install vanity lights, ceiling fixtures, or LED strips around mirrors. Proper lighting enhances functionality and ambiance.
- Cabinets and shelves: Mount wall cabinets, open shelves, or floating vanities for storage.
- Mirrors and hardware: Add mirrors, towel bars, and hooks to finish the look.
Double-check all screws, fittings, and mounts to ensure everything is securely in place.
Pro tip: Combine task lighting (for mirrors) with ambient lighting (for general brightness) for a well-balanced bathroom.
Step 9: Seal and Caulk
Once everything is installed, seal all joints and corners with silicone caulk. This includes areas around:
- The bathtub and shower base
- Vanity edges
- Floor corners
- Around sinks and backsplashes
Caulking prevents water from seeping into cracks, which is vital for long-term protection. Make sure to smooth it out for a clean, professional finish.
Step 10: Final Inspection and Clean-Up
You’re almost done. Now it’s time to inspect your new bathroom carefully. Check for leaks, uneven tiles, or loose fixtures. Test the lights, water flow, and ventilation fan.
Once everything looks perfect, give your bathroom a deep clean. Wipe down surfaces, polish fixtures, and remove any leftover construction dust. Step back and enjoy your brand-new space.
Bonus Tips for a Smooth Bathroom Renovation
- Order materials early: Avoid delays by ordering tiles, fixtures, and fittings ahead of time.
- Work with professionals: For plumbing and electrical work, hire licensed experts.
- Stick to your plan: Constantly changing designs or materials can increase costs and slow progress.
- Protect your floors: During construction, cover surfaces with plastic sheets or drop cloths.
Final Thoughts
Knowing in what order do you renovate a bathroom can turn a complicated remodel into a smooth, organized project. By following the right sequence — from planning and demolition to tiling and finishing — you’ll save time and avoid costly mistakes.
Every step builds on the last, creating a solid foundation for a beautiful, functional space that adds value to your home. With a clear plan, quality materials, and attention to detail, you’ll have a bathroom that’s not only stunning but built to last.