
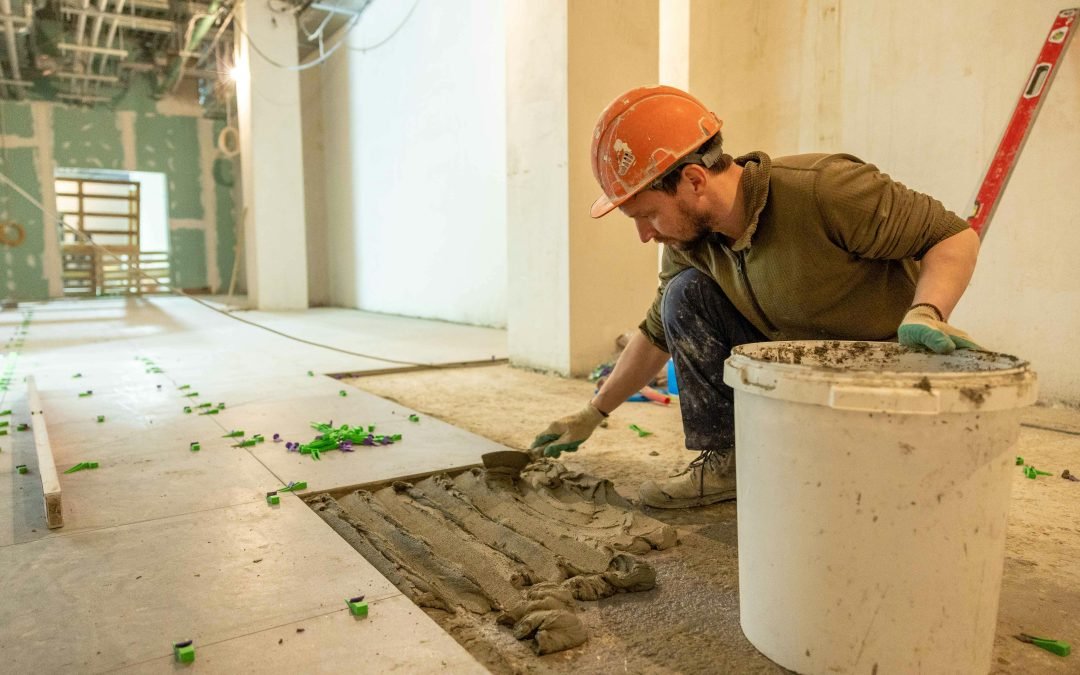
Planning to update your kitchen backsplash, bathroom floor, or even an outdoor patio? Tile is one of the most durable and stylish materials you can use—but only when it’s installed correctly. Done right, it lasts for decades. Done wrong, it can crack, lift, or just look off.
That’s why we’ve gathered the best tile installation tips to help you get professional-looking results—whether you’re going DIY or hiring a contractor.
Let’s dive into what makes a tile project smooth from start to finish.
Why Proper Tile Installation Matters
Tile may seem simple to work with, but it actually requires precision, patience, and planning. A crooked line or uneven base can lead to cracked tiles and even water damage over time.
According to the Ceramic Tile Education Foundation, improper substrate preparation is one of the top reasons tile installations fail. That means what’s under the tile is just as important as what goes on top.
Taking time to prep and install the right way can make the difference between a patch job and a polished, long-lasting surface.
Step-by-Step Tile Installation Tips
Whether you’re tiling a floor, shower wall, or backsplash, these tried-and-true tips will set you up for success.
1. Plan Your Layout Before You Start
This may seem obvious, but skipping the planning phase is one of the most common mistakes. Always:
- Measure the surface area and buy extra tile (10–15% more to cover breakage and cuts)
- Find your focal point and work outward for symmetry
- Use tile spacers to visualize spacing and grout lines
- Dry-lay tiles to test the pattern before applying adhesive
Tip: If your room isn’t square, start from the center and work outwards to avoid awkward edge cuts.
2. Choose the Right Adhesive and Tools
Different surfaces and tile materials require different adhesives. For example:
- Use thinset mortar for floors and large tiles
- Use mastic for smaller wall tiles in dry areas
- Use latex-modified mortar for areas exposed to moisture
You’ll also want to use:
- A notched trowel (size depends on tile type)
- A tile cutter or wet saw for accurate cuts
- A level and chalk line for straight rows
Using the right materials from the start makes installation smoother and reduces the risk of tiles lifting later.
3. Prep the Surface Properly
Tiles are only as strong as the surface they’re installed on. Make sure the surface is:
- Clean, dry, and free of dust or grease
- Flat—no major bumps or dips
- Structurally sound (no loose boards, hollow drywall, or cracked concrete)
For floors, you might need to install a cement backer board or apply a self-leveling compound.
For walls, especially in showers, use a moisture-resistant backing like cement board instead of standard drywall.
4. Use Spacers and a Level
Tile shifts as it’s set, especially when using large-format tiles or heavy stone. That’s where tile spacers come in handy. They ensure:
- Even grout lines
- Straight, aligned rows
- A more polished look after installation
Don’t forget to check your work as you go using a level. Even small inconsistencies will be noticeable once the job is done.
5. Mix Tile From Multiple Boxes
Tiles—even from the same batch—can have slight color variations. To avoid noticeable patches of lighter or darker tiles, mix them from 2–3 boxes as you go.
This simple trick keeps the overall look more uniform and natural.
6. Let the Mortar Cure Before Grouting
One of the most common errors is rushing to grout before the adhesive fully sets. Always wait 24 hours (or whatever the product instructions recommend) before applying grout.
This prevents shifting and helps the tiles bond properly to the surface underneath.
7. Use the Right Grout for the Job
Grout isn’t just cosmetic—it’s functional. Use:
- Unsanded grout for small joints (under 1/8 inch)
- Sanded grout for larger gaps
- Epoxy grout for high-moisture areas like showers
Seal the grout 48–72 hours after application to prevent stains and moisture absorption, especially in kitchens and bathrooms.
Bonus Tips for DIYers
- Start small—backsplashes or powder rooms are easier first-time projects
- Rent tools like tile cutters or wet saws instead of buying them
- Watch tutorial videos specific to your tile type and layout
- Don’t skip safety gear (gloves, goggles, mask when cutting tile)
When to Call a Pro
Not every tile job is ideal for DIY. You might want to bring in a professional if:
- The layout is complex (like herringbone or mosaic designs)
- The surface is uneven or needs reinforcement
- You’re working with expensive or fragile tile
- Plumbing or electrical adjustments are needed
Experienced tile installers will handle cutting, spacing, and sealing with the precision that comes from years on the job—and save you stress (and possibly money) in the long run.
Final Thoughts
Tiling can totally transform a space—but only if it’s done right. Whether you’re tackling a backsplash or a full bathroom floor, these tile installation tips will help you get clean lines, tight grout joints, and a finish that lasts for years.
It all comes down to planning, using the right tools, and being patient. And when in doubt, never hesitate to call in a pro for guidance or hands-on help.
After all, beautiful tile work isn’t just about style—it’s about skill and a solid foundation underneath.